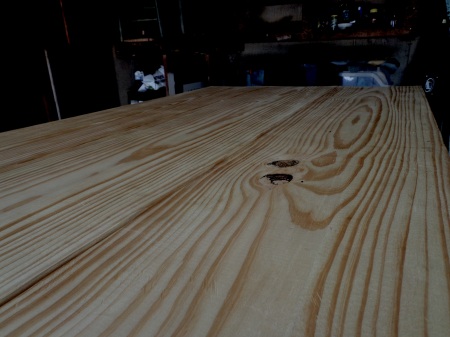
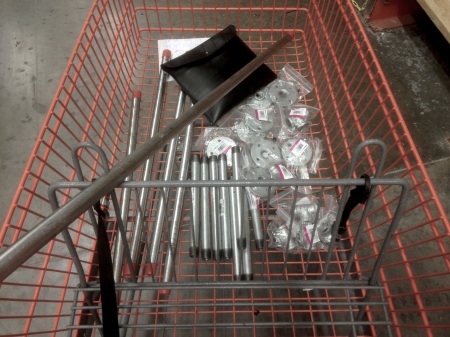
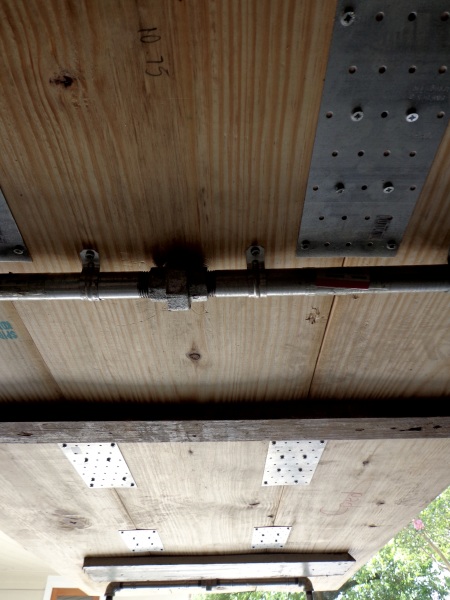
a simple rule that i like to follow is this – keep with the doing. saturday evening i was browsing the internet for industrial tables. i have recently found a new studio space in Houston and a large work table is a MUST. i’m all about the DIY, so i conducted some research, found a few instructions on how to build one, hit up home depot (lets just say more than once and at this point, if you ask me where something is, i would be able to tell you where it was. it took billy + i 4 trips to finally get all of the parts together throughout the entire process. it was frustrating at times but i was determined to get this done. i asked billy if he wanted dinner tonight? meaning – we were not stopping til we finished. the initial frame we built had flanges (feet) on the tops of the pipe that would essentially screw into the wooden tabletop, however, for the heavy duty table we were building using pine lumber on top, we needed more support and an employee at our local home depot suggested we use 90 degree elbows and attach more pipe for a stronger support. the total project cost roughly around $175.00 – the instructions we followed to get started suggested using black pipes, probably because they are cheaper, but we decided to go with the silver metal ones 1- the look was what we wanted and 2-this will last for a long time and nothing cheap ever does. here is the link to where we found our basic instructions + materials.


 finished product is 36x72x38 SIDE NOTES: -this is not a one person job. find a buddy + get to work! – always sand along with the grain of the wood. you can use ply-wood as your table top but we chose to go with the pine for a thicker + sturdier top. -when joining 2 small pieces of pipe, DO NOT use a coupling. you will need a union. (we learned the hard way and had to assemble + dissemble multiple times) -you will need heavy duty tools: an electric hand drill, a pipe wrench, screws, + an electric sander.